Thursday, May 20, 2010

Homemade Yogurt


A few days ago, I made my usual homemade yogurt using longevity sweetened condensed milk and the result was very disappointing. I can't really figure out what went wrong but it was too runny. Didn't look too appetizing. I have made these quite a few times and each time it turned out better. Apparently not this last time. Here's the recipe if anyone is interested:

Ingredients:

1 starter Plain yogurt (I bought mine from the vietnamese store) cup size
1 can longevity condensed milk sweetened
Boling water
milk (I use 2% because that's what i have on hand all the time)
9 big baby food jars with caps

Instructions:
Boil about 1 cup of water.
In a large mixing bowl, empty the can of condensed milk (do not discard this empty can)
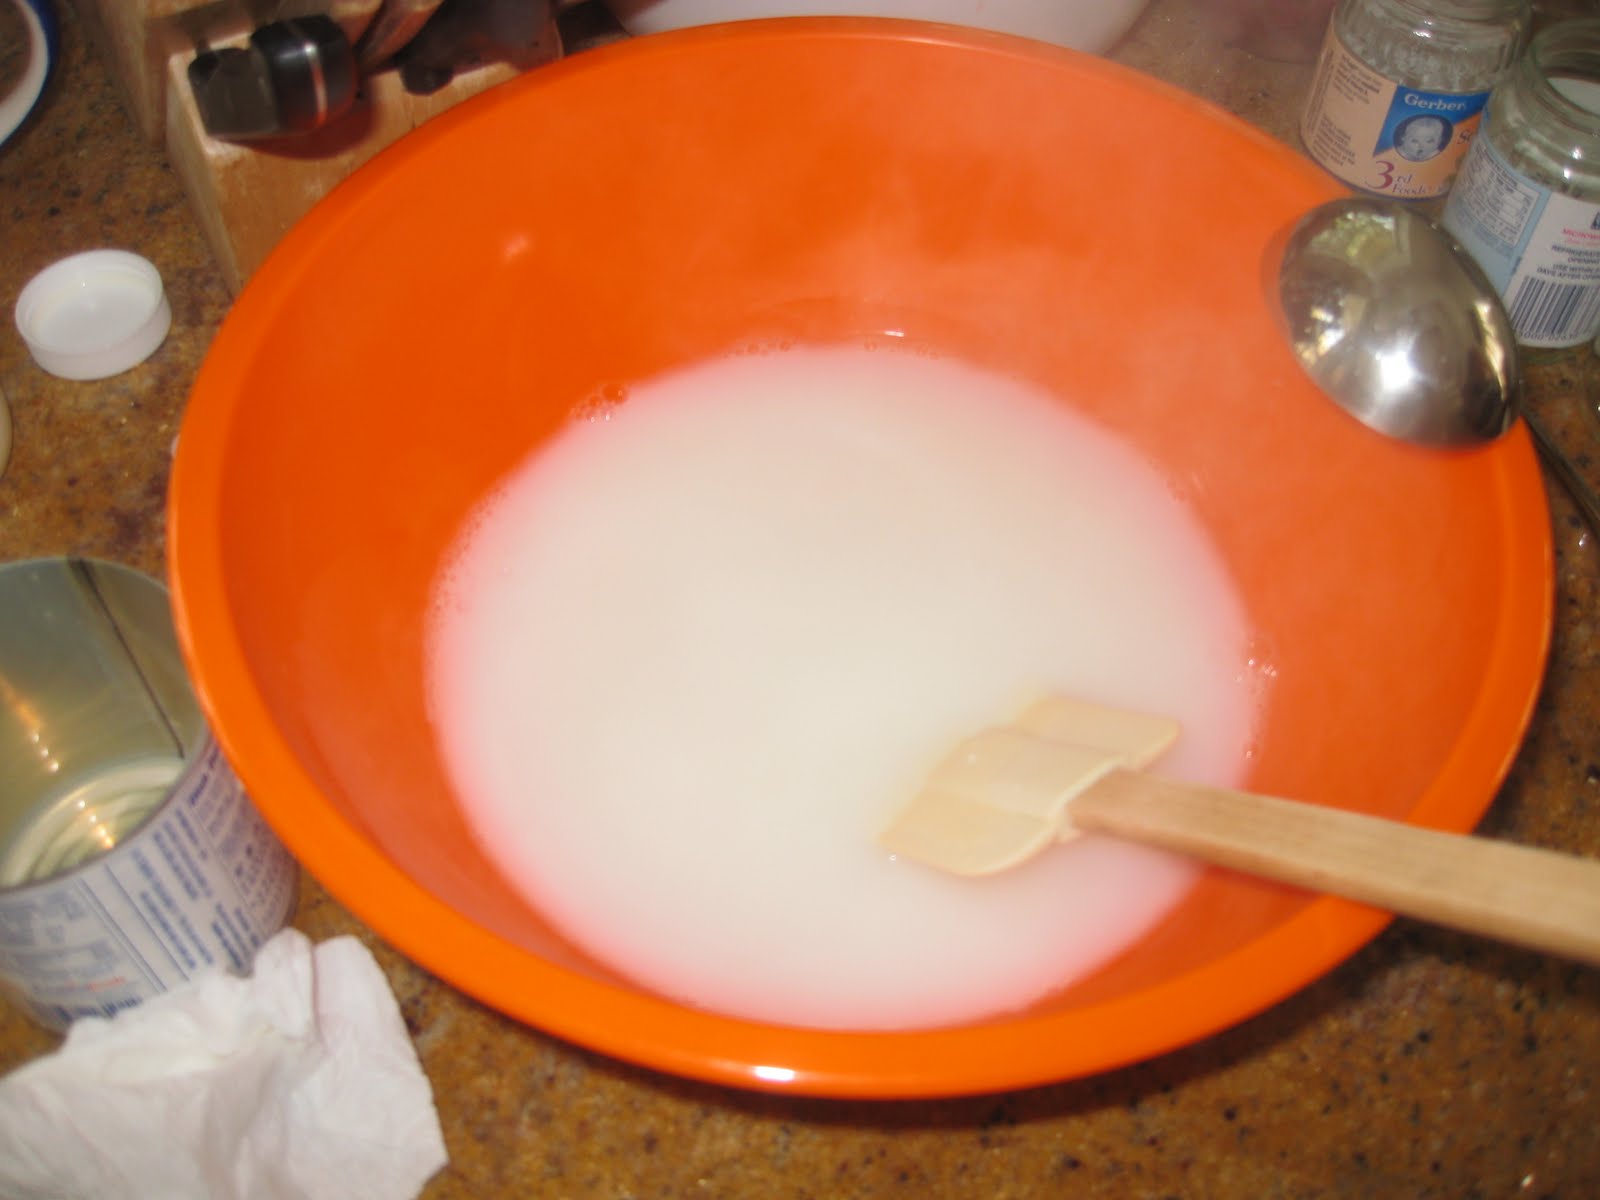
Use the empty can to measure out 1 canful of boiling water and add to the mixing bowl to dissolve the milk.
Stir well til completely dissolved. Using the can, measure out two canfuls of milk and add to the mixing bowl.
Next, add the starter yogurt (stir the yogurt before adding it to the mixture). Continue to stir once it's in the bowl to make sure that it's evenly distributed.
Boil 1/2 kettle of water on the side to use as a water bath.
While waiting, ladle the yogurt into the food jars
Place the jars in a big pot and pour hot boiling water into the pot. Fill it up to about 3/4 of the height of the jars.
Place a towel over the jars and place lid over. Leave it at room temp for about 6-12hrs, then cap the jars and store in the fridge. If you want it to be more tart, let it sit out at room temp a little longer.

Tuesday, May 18, 2010

Starbucks Streusel Crumb Cake


Today I got try this new recipe I found on the internet for Starbuck's Crumb cake. The hubby and I always get this cake when we buy their pastry. I have to say that over the years the portion of this cake sold has gotten smaller and the price has gone up (like $1.95 for a tiny square of cake!). Well, I baked a 9"x13" sized cake for probably less than $5.00 and got a lot of servings out of it. It got a little dry because my oven was acting up again. It does this every so often...locks itself...and there's nothing I can do to open it except to wait for it to unlock. Sometimes I can get it to open up but it's not always successful. I had to leave for the gym so someone else was going to take it out of the oven when it was done but she couldn't get it to open up, so the cake sat in the oven for an extra hour. It came out not burnt but quite dry. It was still very delicious. This recipe is definitely a keeper. Here's the recipe if you want to give it a try:
http://www.recipezaar.com/recipe/Streusel-Crumb-Coffee-Cake-105772

Sugar Cookies with Marshmallow Fondant and Royal Icing


This past saturday, I was brave enough to make these sugar cookies, marshmallow fondant, and royal icing from scratch. I had never rolled cookie dough my entire life and was a bit nervous about it. I wasn't really sure how much flour to use and couldn't decide whether to roll it over wax paper or on my counter top. I went with using the wax paper just to keep it from getting too messy. I had the dough refrigerated for more than two hours and it was still a little sticky and hard to roll as it was sticking onto the pin. I had to ask the hubby for help and he gave a good tip...to add more flour... so I did and it worked much better. I had recently bought some cookie cutters for a baby shower and the shapes were so adorable. I had a onesie, bottle, bassinet, rattle, baby foot, and a flower shaped cutter. The first few cut outs were deformed (there's a first for everything). By the time I got to my last batch, I felt like an expert. I was going a lot faster. I must have made 4 or 5 dozens worth of sugar cookies (it was a lot more than I expected). The marshmallow fondant was quite a mess too. I forgot to rub my hands in butter first before kneading the marshmallow and boy was it sticky icky (no kidding!) It took me a good few minutes to get it all off my fingers. When it did, it was a lot easier to handle...much like playdoh. I rolled it, cut it and then placed it on the cookies. It looked really cute. I made a small batch of fondant chocolate flavored just to test out...I think next time, I will add more chocolate to it for deeper/darker brown color and also for a better flavor. I colored some of the icing in blue to use as an outline for the cookies. I could have done whatever design in whatever color I wanted to and it would have turned out nice. I just didn't have the time to play too much with this. I tested out the food coloring just to get a feel for how much to add and I have a pretty good idea now. What a fun day that was for me to make these cookies (just a little tiring). I even got little helpers to assist with rolling and cutting out the cookies and the fondant. End of this month, we'll be making these cookies again.....
Sugar cookies: can't remember which one i used but any recipe should do
Icing recipe: http://cakecentral.com/recipes/1961/alices-cookie-icing
Marshmallow Fondant recipe: http://www.wilton.com/forums/messageview.cfm?catid=7&threadid=77236

Thursday, May 13, 2010

Chocolate Peppermint Cupcake


Today, I had quite a task on hand making this chocolate peppermint cupcake from scratch. The cake part for easy to follow and make. The most exciting part of this chocolate recipe was the 1 cup of coffee that I added. I also made the filling made of white Chocolate Peppermint Ganache. The most labor intensive was crushing the peppermint candy into bits. Actually, I had some help with this step :)This didn't turn out so great. Was a little too thick so I had to thin it down with the heavy cream. For the frosting, I made this Mint Swiss Meringue Buttercream. It was amazing what an electric mixer can do. I used it to whip the egg white and sugar into a white light fluff. I was in awe as I watched this happen before my eyes. For a moment I felt like a kid again. I really enjoyed this step the most but it gets a little messy for me. Cleaning up was not fun at all. The last thing I did was pipe the frosting over the cupcakes using my new decorating kit. However, this didn't turned out as nicely as I would have liked. Doesn't look professional yet. I am working on perfecting my decorating techniques. One day, my cupcakes will look store bought. That is the plan...and will have pictures to show for it too.
Here's where I got this recipe: http://www.beantownbaker.com/2008/12/chocolate-peppermint-cupcakes_26.html

Tuesday, May 4, 2010

Cake Bites


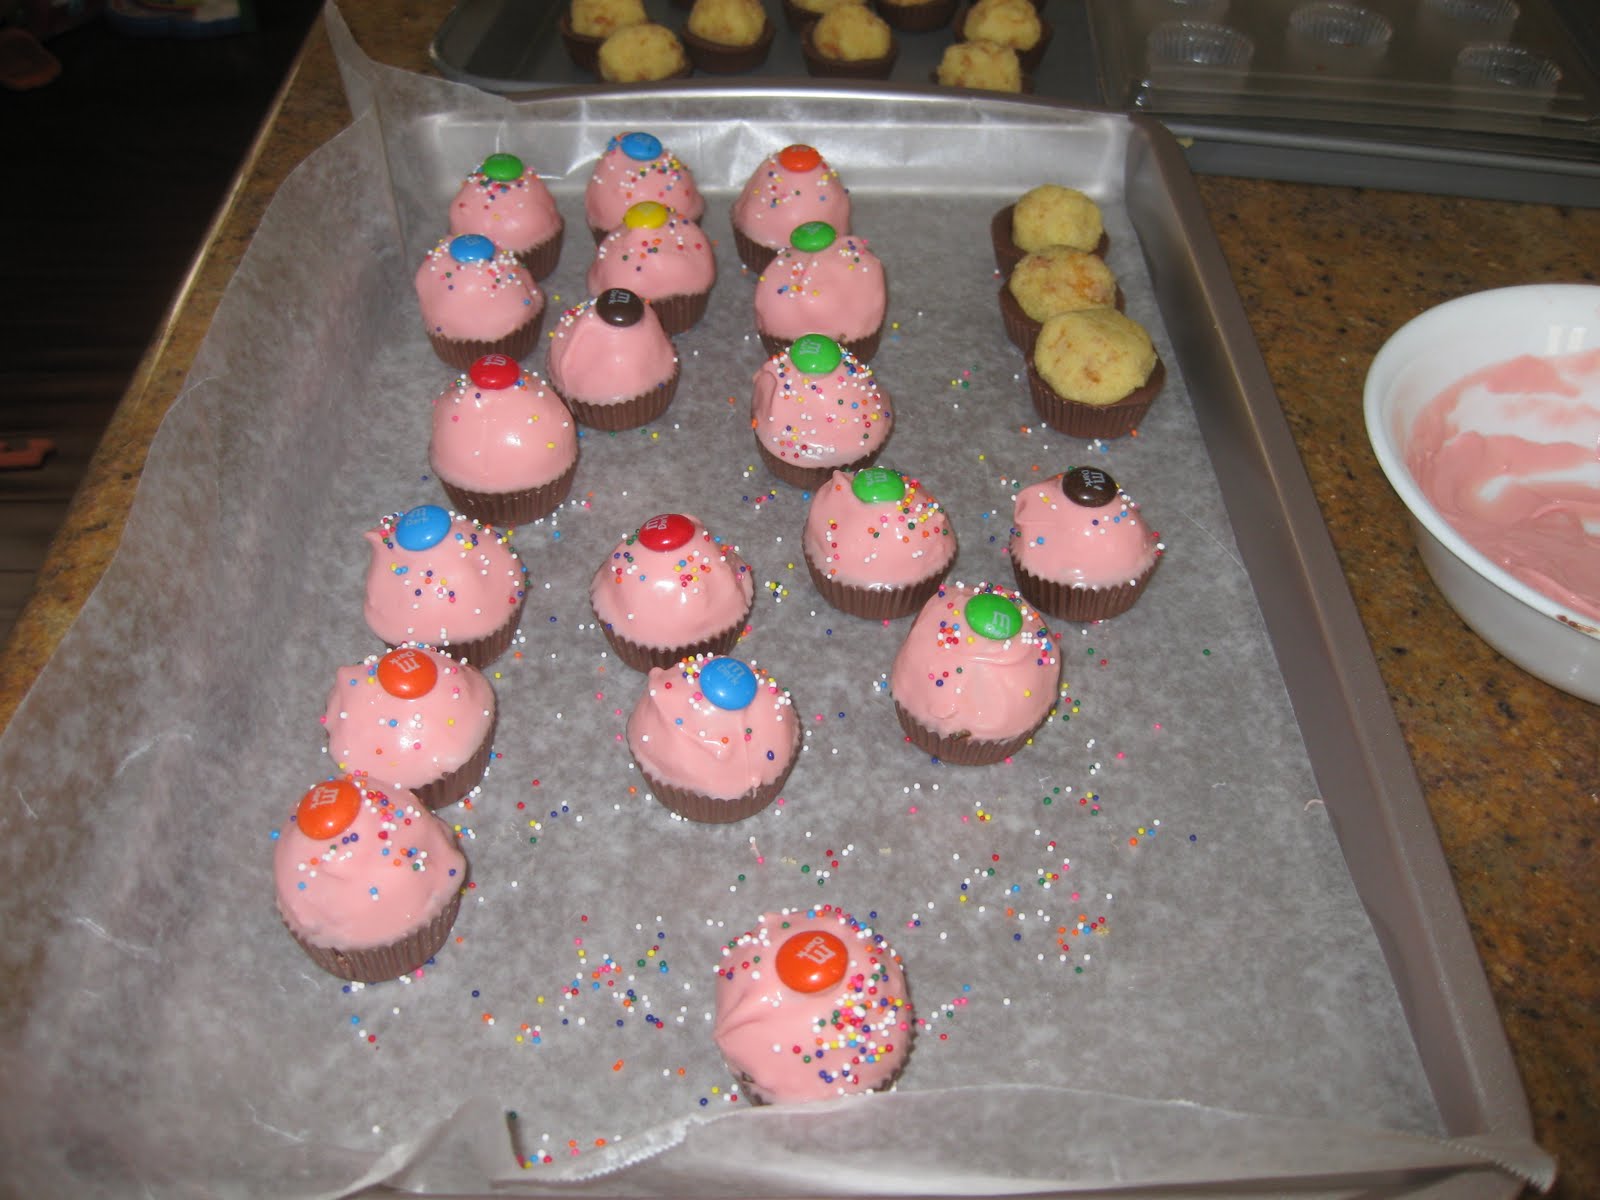
The other day I attempted to make these cake bites with peanut butter candy mold. I have been wanting to make these for a while and couldn't wait to give it a try when I got the mold in the mail. It was a matter of time for me. I finally did have some time and off I went with this project. I have to say that it turned out pretty well. Everyone at work enjoyed it and so does my three year old. He kept asking for more "pink cupcakes". Anyhow, check out the photos and you'll see why it was a hit. Here's the recipe website: http://www.bakerella.com/cupcake-bites-made-easy/

Granola cookies and Chocolate chip cookies


Tomorrow is Teacher's appreciation at Chance's school. I volunteered to help set up and bring in some sweets. While my little one is taking a long nap, I managed to bake about 4 dozens of each kind. I am thankful for my stand up mixer. I didn't have to manually mix the dough. I think the chocolate chip cookies turned out better than ever before. I have made these quite a few times already and each time it seems to come out different, not the way I would have liked. However, I am not sure what I did differently this time but the cookies look pretty good, almost like the ones you can get from the store. The Granola cookies are amazing too. It was my first try at it and won't be my last. It tastes delicious.
Here is the link to the website where I got the granola recipe:
http://www.whiskblog.com/2008/08/tuesdays-with-doriegranola-grabbers.html
Chocolate Chip cookie recipe: Tollhouse recipe.